In my last blog installment, I announced the 2022 Digital Photography Project that is run with the assistance of the Government of Canada’s Young Canada Works in Heritage Organizations employment program. Since that blog was posted, we have been busy capturing images of artefacts in the collection. In this blog and upcoming blogs, I will go over some of the details involved in taking the actual picture, processing the image files, and getting the images saved safely to the right place.
The preparation to photograph starts with selecting the artefacts in the storage area. Having been trained in the principles of safe artefact handling, the project team’s artefact handler Catharine Solomon gathers a trolley. She has selected objects that are going into the new exhibition All Dolled Up: Fashioning Cultural Expectations. A few of the items in that exhibition haven’t yet been photographed, and this needs to be done before they are installed as we will need documentation photos for reference while the exhibition is up. So Catharine pulls the catalogue datasheets for the objects flagged for photography (note the orange tags), and collects the artefacts from the storage area, placing them on the trolley. The photography room is just down the hall, and there she has a workspace set up with space to prepare the artefacts. Preparing the artefact most often requires the removal of storage mounts.
With the artefact prepared for photography, she places it on the shooting surface, centering it because the shooting surface and seamless backdrop are quite narrow at only 6 feet wide. Now the image capture begins!
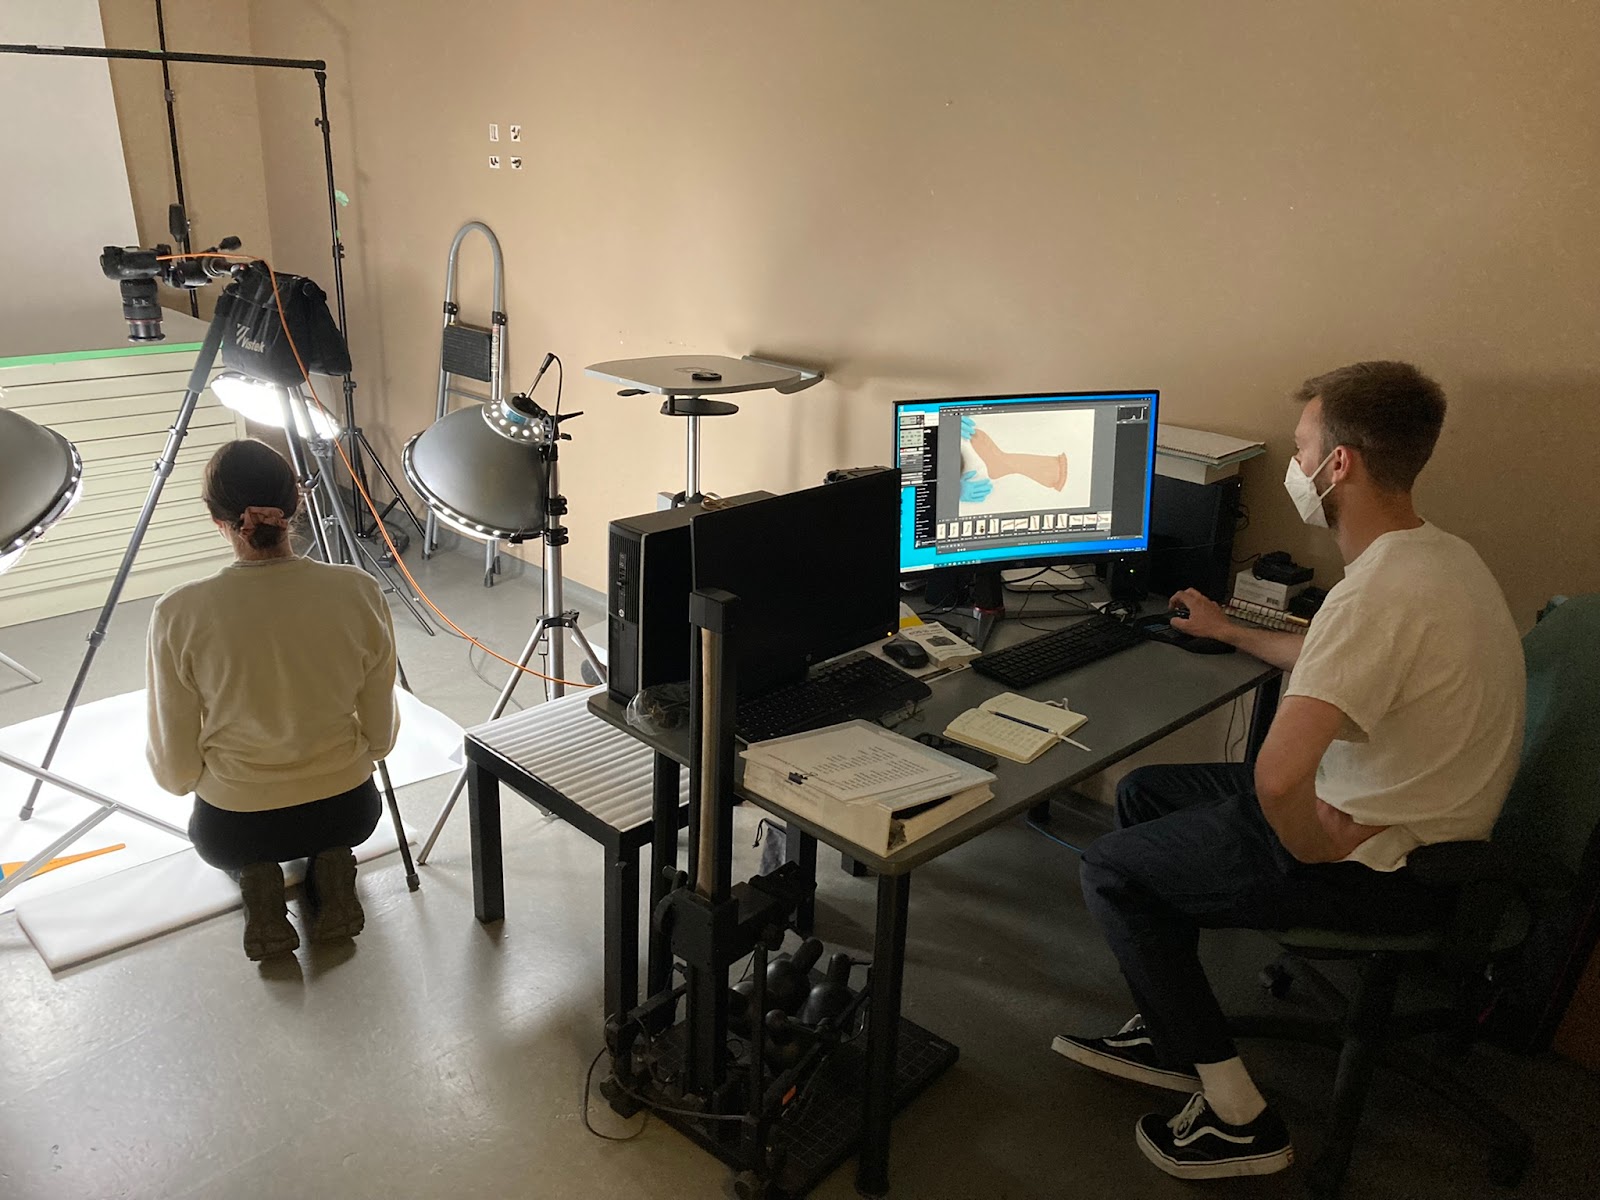
Using a digital single lens reflex (DSLR) camera -- a Canon EOS 5D Mark IV – we capture the images in RAW format, saving each shot to the memory card and to the computer workstation, to which the camera is tethered. Shooting on the Manual setting, and using the 50mm range on the zoom lens, we shoot for maximum depth-of-field keeping the f-stop at f22. The Canon camera has complementary software that allows for remote shooting, so we never have to touch the camera and risk ‘shake’ of the image. The camera also allows for Live View shooting that gives a preview of what the camera is seeing. This large preview displays on the computer workstation. This feature gives the three of us the ability to see what is being captured while we remain a safe 2-metres apart for COVID-19 safety.
The remote shooting program open on the left screen, and the Live View shooting program in operation on the right screen.Our lighting setup is simple. We have four 18” lamp heads on tripod stands. Each lamp has a nylon diffuser on its face. The lamps are fitted with cool compact bulbs, a necessity in our very small, not-well ventilated photography room. We arrange the lighting so that two lamps illuminate the backdrop and two lamps illuminate the artefact.
As Christine Spenuk, project photographer, checks for lighting, exposure, focus and composition issues, she captures a few test shots of the artefact. Getting all of the settings perfect for each shot takes time and attention. Both Catharine and Christine check for the quality of the image and even lighting. They keep a logbook of the artefacts they have shot that includes a list of the shots per artefact, the composition of each shot, and the file name of the best shot. This logbook will help with the later steps in processing. The catalogue datasheet that stays with the artefact is also updated with a penciled notation of the date it was photographed.
The final step is to check the composition to see if the shot is showing the most important characteristics of the artefact. Depending on the artefact, curators and researchers may want to see a specific aspect of the shoe emphasized in the shot, perhaps the heel, the closure mechanism, the toe shape, the silhouette or the vamp. Finding a composition and shooting angle that best represents the shoe in an overall shot is sometimes very challenging. This is where creativity comes into play.
After capturing the overall shot, we take at least two additional shots: a profile and a sole shot. So often the sole of the shoe is not seen, and the sole can give a good deal of information, so this in an important shot. If there are finer details on the shoe that should be captured, we will do additional shots. For very close detail shots, we change the lens on the camera to a 100mm macro lens and shoot with an f-stop of f/32, for the best depth-of-field.
After all of the angles have been shot, the artefact is ready to be prepped to go back into storage. The storage mounts that were initially removed are put back into place, and the artefact is placed on the trolley for the short trip back to the storage room.
In the next blog, I will talk about the image file processing that comes next in the process.
This project has been made possible in part by the Government of Canada’s Young Canada Works in Heritage Organizations employment program.
Suzanne Petersen, Collections Manager